


Introduction
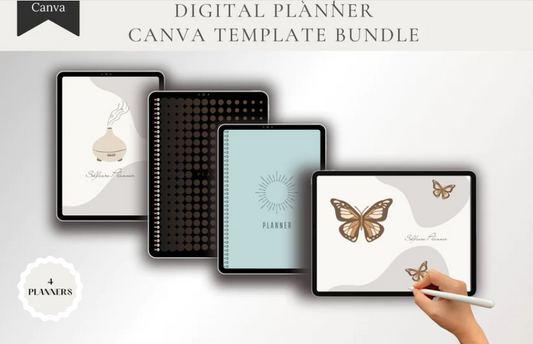
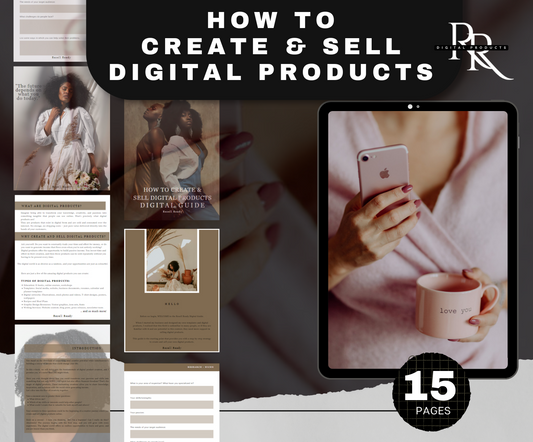
Creating and selling digital planners online has become one of the most exciting ways to blend creativity with entrepreneurship in 2025. A digital planner is essentially an interactive PDF designed for tablets and note-taking apps like GoodNotes or Notability, where users can write, organize, and plan digitally—without paper clutter.
The best part? The digital stationery industry is booming. More people are shifting to paperless productivity, making digital planners, journals, and templates highly sought after products. This growing trend has opened doors for creators, designers, and entrepreneurs to earn passive income by selling their unique planner designs online.
You don’t need to be a professional graphic designer to get started. With tools like Canva or Adobe Express, anyone can create beautiful, functional planners in just a few hours. Platforms like Etsy and Gumroad make it easy to list your creations and start selling to a global audience.
By the end of this guide, you’ll learn how to design, export, and sell your own digital planners step-by-step — from choosing the right type of planner to marketing it successfully. If you’re ready to turn your creativity into profit, this post will show you exactly how to do it.
For more inspiration, check out:
1. What Is a Digital Planner and Why Sell Them Online?
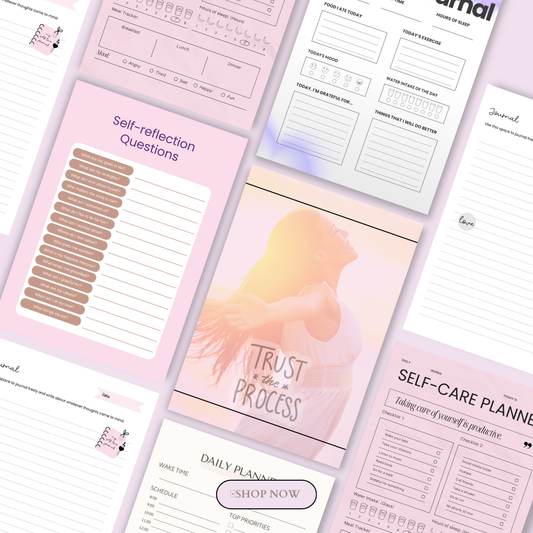
A digital planner is a downloadable, interactive PDF file that replicates the feel and function of a traditional paper planner — but in a completely digital format. Users can tap through sections, check off to-do lists, track goals, and even decorate their planners using digital stickers and stylus pens. Popular apps like GoodNotes, Notability, and Noteshelf make these planners easy to use and personalize.
Why They’re So Popular
Digital planners have become a modern productivity essential because they’re:
-
🪴 Eco-friendly – No paper waste or shipping required
-
🎨 Customizable – Easily change colors, layouts, and covers
-
💰 Profitable – Sell once, earn forever through digital downloads
The digital stationery market is expanding rapidly as more people work and study remotely. From self-improvement journals to goal-setting planners, the demand for aesthetic and functional digital tools is growing year after year.
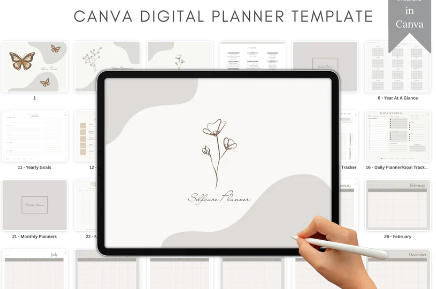
If you’re looking for examples of what sells, browse the Canva-based planner templates and designs on ResellReady. You can even explore done-for-you products like:
-
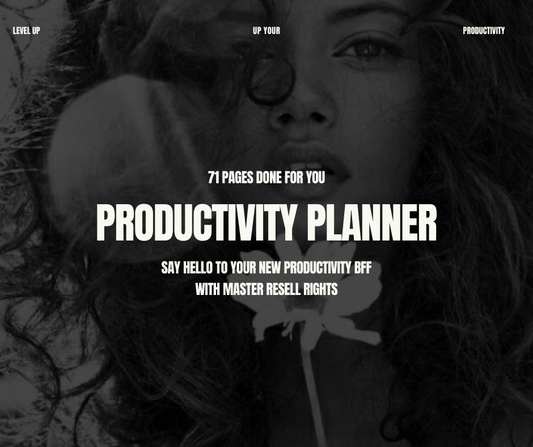
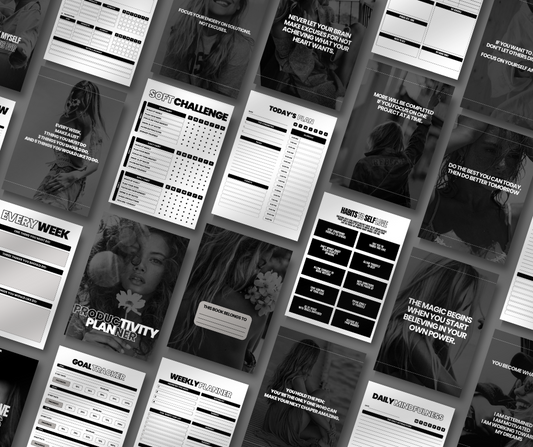
🧠 The Productivity Planner – a complete focus and time-management tool.
-
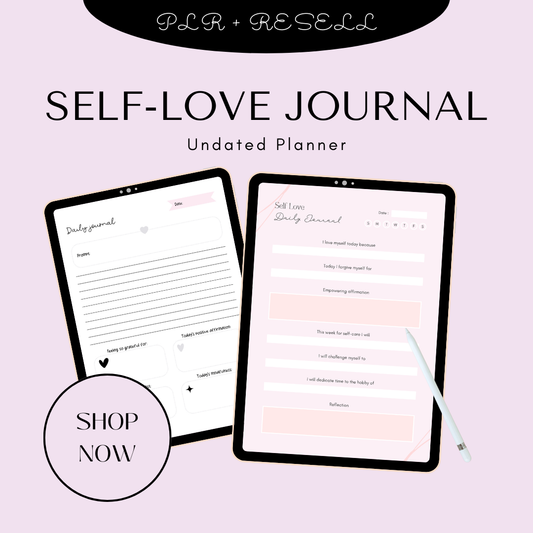
💕 The Self-Love Journal – designed to help users cultivate mindfulness and gratitude.
In short, selling digital planners online lets you create once and earn continuously, combining creative design, digital marketing, and passive income into one powerful business model.
2. Step 1: Plan Your Digital Planner Design
Before you start designing, take time to plan the structure, purpose, and flow of your digital planner. This is the foundation of a product that not only looks beautiful but actually helps users stay organized and inspired.
Choose Your Planner Type
Start by deciding what kind of planner you want to create. Some popular types include:
-
🗓 Daily planners – Ideal for productivity and time-blocking
-
📆 Weekly or monthly planners – Great for goal-setting and scheduling
-
💪 Niche planners – Such as fitness trackers, budgeting planners, manifestation journals, or self-care organizers
If you’re looking for creative niche inspiration, check out:
-
🌟 Best Goal-Setting Planners for Manifestation & Personal Growth
-
🚀 Best Productivity Planner for Entrepreneurs & Busy Professionals (2025)
These examples show how focusing on specific audience needs—like mindfulness, career focus, or wellness—can make your planner more appealing and profitable.
Outline Key Sections and Pages
Once you’ve chosen your theme, sketch out the essential sections your planner will include. Consider adding:
-
✅ To-do lists and task trackers
-
🎯 Goal-setting pages
-
🪴 Habit trackers
-
🕰 Daily, weekly, or monthly layouts
-
💬 Notes and reflection pages
You can also draw inspiration from wellness products like the Self-Care SOS Kit or the 30 Days to a Better You eBook to understand how structured prompts and guided exercises enhance user engagement.
Map Out the Flow
Before you open any design tool, create a content flow or wireframe — a simple sketch showing how the pages connect. Decide how users will navigate your planner (e.g., clickable tabs for each section or a main dashboard). This step saves hours of redesign later and ensures your planner feels intuitive to use.
3. Step 2: Choose the Right Design Tools
Once you’ve mapped your planner, it’s time to bring your vision to life using the right tools. Fortunately, you don’t need advanced design skills — just the right platform that matches your experience level.
Beginner-Friendly Options
-
Canva and Adobe Express are excellent for beginners.
They offer drag-and-drop features, ready-made templates, and beautiful fonts that make designing planners quick and easy. -
You can easily customize page layouts, add hyperlinks, and experiment with color palettes — all without any coding or complex design work.
Intermediate Options
-
PowerPoint or Keynote give you more control over layouts and alignment.
Many digital creators use PowerPoint to design planners because it allows precise spacing and text formatting while still being intuitive.
You can later export your file as an interactive PDF for use in apps like GoodNotes or Notability.
Advanced Options
-
Adobe Illustrator and Inkscape are ideal if you’re comfortable with professional design software.
They let you create fully custom graphics, icons, and illustrations, giving your planner a unique aesthetic that stands out in marketplaces like Etsy or Shopify.
Choosing the Right Tool for You
Ask yourself:
-
Do you want a quick, no-fuss creation process? → Canva or Adobe Express
-
Do you want precise control over alignment and interactivity? → PowerPoint or Keynote
-
Do you want full creative freedom and branding flexibility? → Illustrator or Inkscape
Save Time with Templates
Don’t start from scratch if you don’t have to. Use pre-made planner templates and customize them with your own colors, fonts, and branding. This not only saves time but helps you design faster and focus on what really matters — creating a product your audience will love.
You can explore more about Canva-based planner creation here:
👉 Canva Digital Products That Sell Like Crazy – Templates, Planners & More

4. Step 3: Design Your Planner
Once your structure is outlined, it’s time to bring your digital planner to life. The design stage is where your creativity truly shines — balancing visual appeal, functionality, and user experience.
Design Your Page Layouts with Consistency
Start by designing your core pages — such as daily, weekly, and monthly layouts. Keep your design consistent across all pages by using the same font families, spacing, and color palette. Consistency helps users feel comfortable and makes your planner look professional.
Not sure which format to create first? Learn more about choosing between daily, weekly, or monthly layouts in this guide:
📘 Daily, Weekly, or Monthly — Choosing the Best Productivity Planner Format.
Add Interactive Elements
Digital planners aren’t just static PDFs — they’re interactive experiences. Include:
-
🔗 Clickable tabs or buttons for easy navigation between sections
-
☑ Checkboxes for to-do lists and progress tracking
-
📑 Hyperlinks to jump between calendar views or notes pages
These interactive touches create a seamless, app-like feel for users on tablets or digital note-taking apps.
If you’re new to using productivity layouts effectively, check out:
🧠 How to Use a Productivity Planner to Get More Done Every Day.
Focus on Color, Typography & Readability
-
Use soft, neutral colors for backgrounds to reduce eye strain.
-
Stick with two to three main fonts — one for headings, one for text, and optionally one accent font for quotes or highlights.
-
Leave plenty of white space for users to write comfortably.
You can even draw inspiration from done-for-you products like the Money Mindset Collection, which perfectly balances elegance and usability — or explore the Planner Collection for layout ideas that blend style with structure.
Ensure Device Compatibility
Before finalizing your design, make sure your planner displays properly on major devices and apps like GoodNotes, Notability, and Noteshelf. Test your layouts to ensure the tabs and hyperlinks are easy to click and that no design elements overlap when zooming or scrolling.
5. Step 4: Export and Test Your Digital Planner
After completing your design, it’s time to prepare your planner for the market. Exporting correctly ensures your file functions smoothly and looks flawless across all devices.
Export as an Interactive PDF
Always export your planner as a PDF (Portable Document Format) — the universal standard for digital planners.
When exporting:
-
Select “include hyperlinks” or “preserve interactivity” (depending on your software).
-
Double-check that text and clickable areas align correctly on each page.
-
Use high resolution (150–300 dpi) for clear visuals without making the file too heavy.
Check Hyperlink Functionality
Before you upload your planner anywhere, test every clickable element:
-
Do the tabs and buttons lead to the right pages?
-
Are navigation links easy to tap on tablets?
-
Do all the interactive checkboxes and pages behave as expected?
A small error — like a broken link — can frustrate users, so this step is worth taking seriously.
Test on Multiple Devices & Apps
Load your planner into GoodNotes, Notability, and Noteshelf to make sure it functions smoothly across platforms. Try it on an iPad, Android tablet, and desktop viewer if possible.
Make notes of any design or functionality issues (like misaligned buttons or long load times), fix them, and re-export the planner. Once you’re confident it looks perfect, you’re ready to move on to selling and marketing your creation.
Step 5: Where and How to Sell Digital Planners Online
Once your planner is beautifully designed and tested, it’s time to put it in front of paying customers. The right platform can make all the difference in your visibility, profits, and brand growth.
Overview of Top Platforms
🛍️ Etsy – Best for Beginners and Built-in Traffic
Etsy is the go-to marketplace for creatives and digital entrepreneurs. With millions of users searching for planners daily, it offers instant exposure without needing your own website. Focus on SEO keywords, mockups, and appealing visuals to stand out.
💳 Gumroad – Simple Checkout and Creator-Friendly
Gumroad is ideal if you want a clean, professional storefront without technical hassles. You can sell your planner directly through a link, making it perfect for creators who promote via social media or newsletters.
🏪 Shopify / Kajabi – For Brand Building and Scaling
Once your sales grow, moving to Shopify or Kajabi allows you to build a branded store with full control over marketing, upsells, and customer experience. These platforms are perfect for turning your planner business into a sustainable brand.
Creating Listings That Convert
Your listing is your digital storefront—make it irresistible.
-
Use lifestyle mockups: Show your planner in use on an iPad or tablet.
-
Write benefit-focused descriptions: Emphasize results—like better time management or financial clarity.
-
Include strong keywords and tags: Research what your ideal customers search for (e.g., “digital planner for iPad,” “manifestation planner,” or “student productivity planner”).
For inspiration, explore The Planner Collection — a curated set of premium planners designed for creators and resellers alike.
Pricing Strategies and Delivery Setup
Start with competitive pricing—typically $10–$25 for a single planner, and $30–$50 for bundles or premium templates.
Ensure smooth delivery by automating file access right after purchase (Etsy, Gumroad, and Shopify all support instant downloads).
You can also draw ideas from Money Mindset Collection and Daily, Weekly, or Monthly Planner Formats to craft unique offers for different audiences.
Step 6: Market Your Digital Planner for Maximum Sales
Even the best planner won’t sell itself — marketing is where your product gains real traction. With the right strategy, your digital planner can reach thousands of eager buyers.
Marketing Channels Overview
Start with these high-converting channels:
-
Social Media: Post engaging visuals, time-lapse videos, or testimonials.
-
Email Marketing: Build a loyal audience with weekly planner tips or freebies.
-
Content Marketing: Create blog posts or guides about productivity and manifestation.
Discover more planner insights at Resell Ready’s Planner Hub and Best Digital Planners for iPad and GoodNotes Users.
Leverage Pinterest, Instagram Reels, and TikTok
Short, aesthetic videos perform incredibly well on these platforms. Showcase your planner pages in action — flipping tabs, filling in goals, or journaling digitally.
Use hashtags like #DigitalPlanner, #GoodNotesPlanner, and #PlanWithMe to attract organic views.
For inspiration, check out products like:
Each of these examples showcases strong branding and visual storytelling that inspire planner enthusiasts to buy.
Build an Audience with Freebies
Offer free planner samples, stickers, or covers to grow your email list. Freebies build trust and give users a taste of your quality before they commit to a purchase. You can also bundle your planners or add upsells like tutorials or matching templates for higher cart values.
For self-care and journaling ideas, explore The Self-Love Journal or elevate your bundle strategy with the Plan & Prosper Collection — both are great examples of content-driven product marketing done right.
Step 8: Recommended Tools & Resources
Choosing the right tools will make designing, testing, and selling your digital planner much easier — whether you’re a beginner or a pro.
🎨 Design Tools
Canva – The most beginner-friendly platform for creating planners. With its drag-and-drop interface, templates, and elements, anyone can start designing within minutes. Learn how creators use Canva to make digital products that sell in this guide:
👉 Canva Digital Products That Sell Like Crazy (Templates, Planners & More)
Adobe Express – Another intuitive option for clean, professional designs. It’s especially handy for quickly turning your layouts into branded visuals. Learn more about it on Adobe’s official guide:
👉 Adobe Express: How to Make a Digital Planner
Adobe Illustrator / Inkscape – Ideal for advanced creators who want precision and flexibility. You can design custom icons, textures, and page layouts with vector-level detail — perfect for professional or resell-ready planners.
🖼️ Mockup & Presentation Tools
Your visuals sell your product long before your words do.
Use mockup generators like Smartmockups or Placeit to create lifestyle images of your planner in use — on iPads, tablets, or digital notebooks. This makes your listings look premium and instantly more clickable.
💼 PLR Licensing and Reseller Tips
Want to scale faster without starting from scratch? Explore PLR (Private Label Rights) and resell-ready templates that allow you to customize and sell planners as your own.
Here are some excellent resources and examples to explore:
And if you’re planning to sell on your own website or through professional platforms, check out:
Step 9: Pro Tips to Increase Sales
Want to stand out in the crowded digital planner market? These proven strategies can help you maximize your income and build long-term customer loyalty.
✨ Offer Customization or Branding Options
Let buyers personalize their planners with names, colors, or brand logos. This creates a more premium, bespoke feel — and allows you to charge more for each order.
🎄 Create Seasonal or Themed Planners
Release 2025 Editions, Holiday Planners, or Goal-Setting Kits tied to the New Year. Timely, themed products tap into buyer urgency and seasonal demand.
💬 Use Customer Feedback to Improve Designs
Listen to reviews and direct messages — your audience will tell you what they want next. Regularly updating or adding new layouts keeps your planner line fresh.
💰 Expand with Affiliate or PLR Licensing
You can earn more by allowing other creators to resell your planners under a licensing model. It’s a scalable way to earn passive income while growing your brand reach.
Conclusion
You’ve now walked through the entire digital planner creation process — from designing your pages, exporting and testing, to listing, selling, and marketing like a pro.
Creating planners isn’t just about pretty layouts — it’s about helping people stay organized, focused, and inspired. With the right tools and strategies, your creativity can truly become a source of profit.
Whether you’re starting with Canva’s Planner Creator or building a full collection to sell on Shopify, remember this:
Start small, test, and iterate — your best-selling digital planner is just one design away.
💡 CREATE YOUR FIRST DIGITAL PLANNER
✨ Start creating your first digital planner today and turn your creativity into profit!
Explore ready-made templates and resources to jumpstart your journey here:
👉 Resell Ready Planner Hub
Frequently Asked Questions (FAQ)
1. What exactly is a digital planner?
A digital planner is an interactive PDF designed for tablets and apps like GoodNotes, Notability, or Xodo. It includes clickable tabs, hyperlinks, and pages for note-taking, goal tracking, and scheduling — just like a traditional paper planner, but 100% digital and reusable.
2. Do I need design experience to create a digital planner?
Not at all! Tools like Canva and Adobe Express make it easy for beginners to design planners with drag-and-drop templates. You can also start with pre-made Canva planner templates that sell like crazy to save time and customize them for your niche.
3. Where can I sell my digital planners online?
You can list your planners on Etsy (perfect for beginners), Gumroad (great for creators), or build your own brand store using Shopify or Kajabi. If you want an instant way to start, browse Resell Ready’s Planner Collection for resellable templates you can personalize.
4. How much money can I make selling digital planners?
Earnings vary based on quality, design, and marketing, but many creators earn $500 to $5,000+ per month from planner sales on Etsy or their own websites. The best part — once you create your planner, it can generate passive income for years with minimal effort.
5. What types of planners sell best in 2025?
Niche-specific planners are trending — such as manifestation planners, self-care journals, budget planners, and goal-setting templates. Explore examples like the Quantum Manifestation Planner and The Productivity Planner for inspiration.